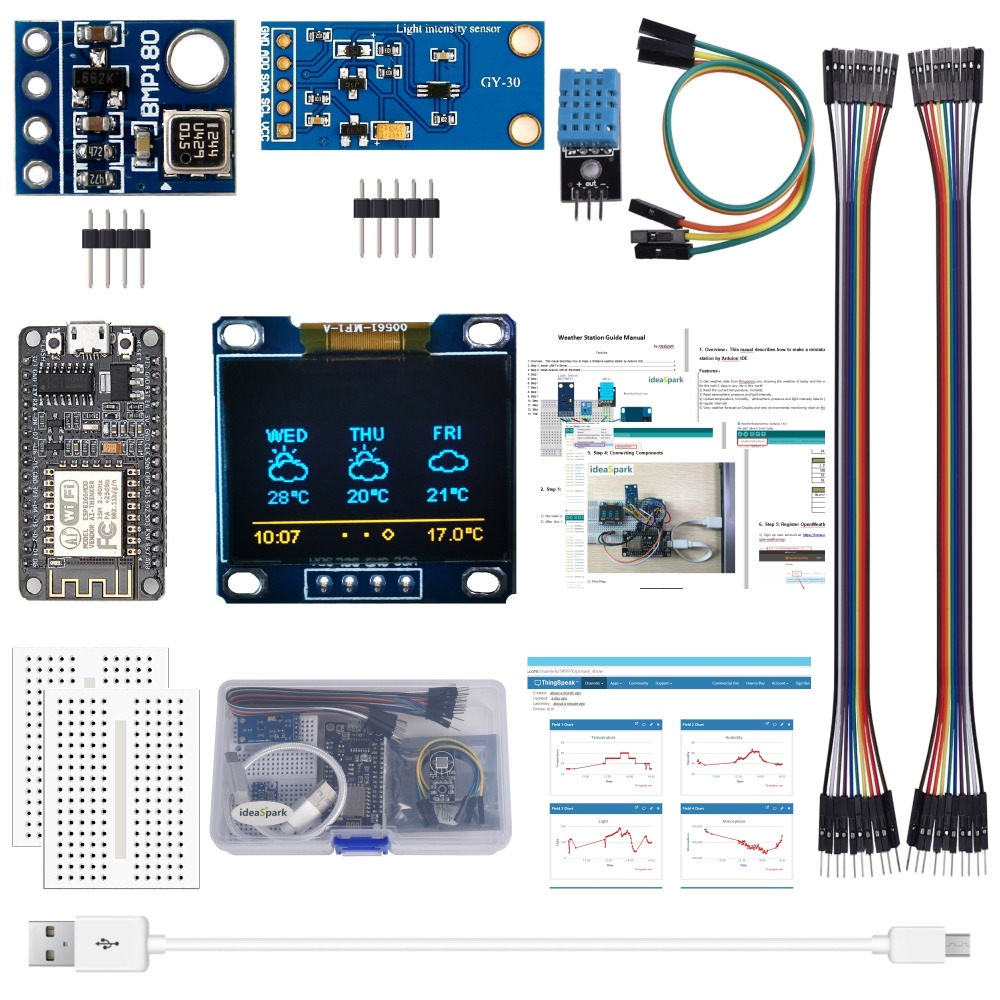
The weather station uses the ESP8266-12E to obtain data from the Internet: time of a city, weather data and forecast information for the next 3 days, scrolling on the SSD1306 OLED Display; the device can switch to display data from any city in the world - maybe your relatives or friends live there
The device uses sensors DHT11, BMP180,BH1750FVI to collect temperature, humidity, Atmosphetic Pressure and light data. The weather station reads data indoor via sensor every 5 seconds and uploads it to the Internet every 60 seconds.You can see real-time data charts from your phone or computer.Of course you can modify the code to implement different functions
ESP8266: CP2102 chip inside,Micro USB,4MB flash,full I/O port and wireless 802.11 supported with IOT platform.
DHT11 Sensor: A digital signal output with a calibrated temperature and humidity combined sensor.The simple communication protocol greatly reduces the programming effort required
BMP180: high-precision, small size, ultra-low power 3μA pressure sensor.Its performance excellence, the absolute accuracy of the lowest can reach 0.03hPa.Can directly through the I2C bus connected with a variety of microprocessors.Pressure range: 300 ~ 1100hPa.
BH1750FVI: Digital Light intensity Sensor.Direct digital output, complex calculation is omitted, omitting calibration.
OLED Yellow Blue Display :0.96" SSD1306 128X64 Yellow&Blue OLED LCD Display with I2C IIC SPI Serial
Result:
1) Get weather data from OpenWeathermap at regular intervals, showing the weather of today and weather forecast for next 3 days in any city in the world
2) Read the current temperature, humidity data indoor at regular intervals
3) Regular reading of atmospheric pressure, light intensity data
4) Upload temperature,humidity,atmospheric pressure and intensity of illumination data to thingspeak.com at regular intervals
5) View weather forecast on OLED display and view environmental monitoring chart on thingspeak.com
Guidance Step:
Overview:This manual describes how to make a miniature weather station by IDE
Step 1: Install USB-To-Serial
Step 2: Install IDE for ESP8266
Step 3: Burning Firmware to ESP8266
Step 4: Connecting Components
Step 5: Register OpenWeathermap, thingspeak new account
Step 6: Import WeatherStation code in the IDE
Step 7: Add Library
Step 8: Modify File WeatherStation.ino
Step 9: Set the Board and Port again
Step 10: Burn code to ESP8266
Step 11: Result
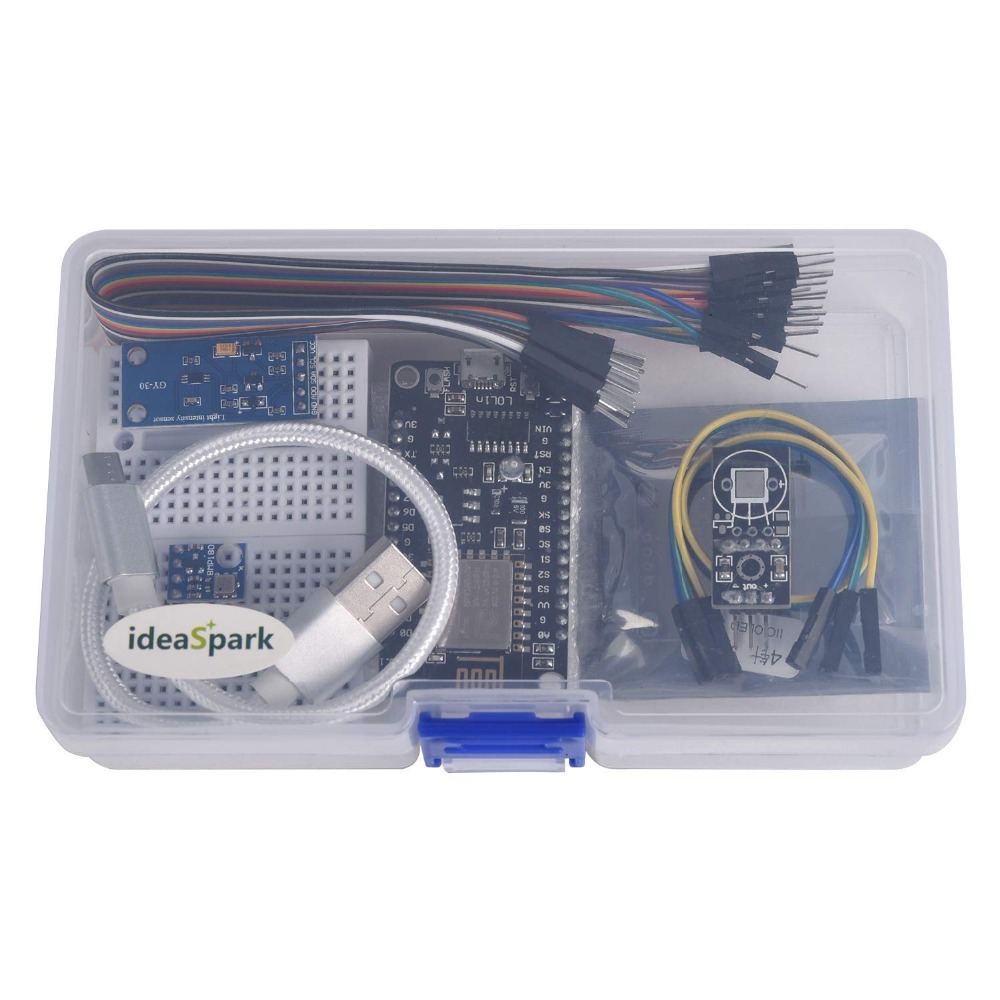
Package Included:
1 x ESP8266-12E
1 x DHT11
1 x BMP180
1 x BH1750FVI
1 x OLED Display
1 x USB Cable
2 x Breadboard
20 x Dupont Cable


